Small Sourdough Bread
-
 Wai Ling Ko
 - 27 Oct, 2024
-

I have been gifted a sourdough starter in April 2020, just around lockdown time. First bake that I ever did with this starter were sourdough hotcross buns according to my photos app. I have been keeping my starter at the back my fridge ever since, feeding it once a while. Over the years, I have made sourdough bread with various rates of success and found the bulk fermentation phase the most difficult to get right… and you only know whether you did it just right once you baked the loaf. Last week, I decided to pull the starter out of the fridge to bake a loaf this weekend. I struggle to finish a big loaf (500 gr flour) in 1-2 days so I ideally wanted to make a smaller loaf. Since I haven’t baked a loaf for a while, I decided to go back to basics with a 70% hydration bread recipe “by The Pantry Mama”:
This is your ultimate beginner’s guide to learning to bake simple sourdough bread. I LOVE artisan and sourdough bread but with 3 kids and a crazy life, I really do cook amongst chaos. So I want to share with you my way of always being able to create amazing sourdough for my family, even with very little time (and patience).
The Recipe
I pulled my starter out of the fridge 3 days before my dough preparation to let it come to room temperature and feed it over 2 days to get it nice an bubbly again. During the first feed, my starter was very wet and over 2 days it regained the bubbly and almost spongy texture again.
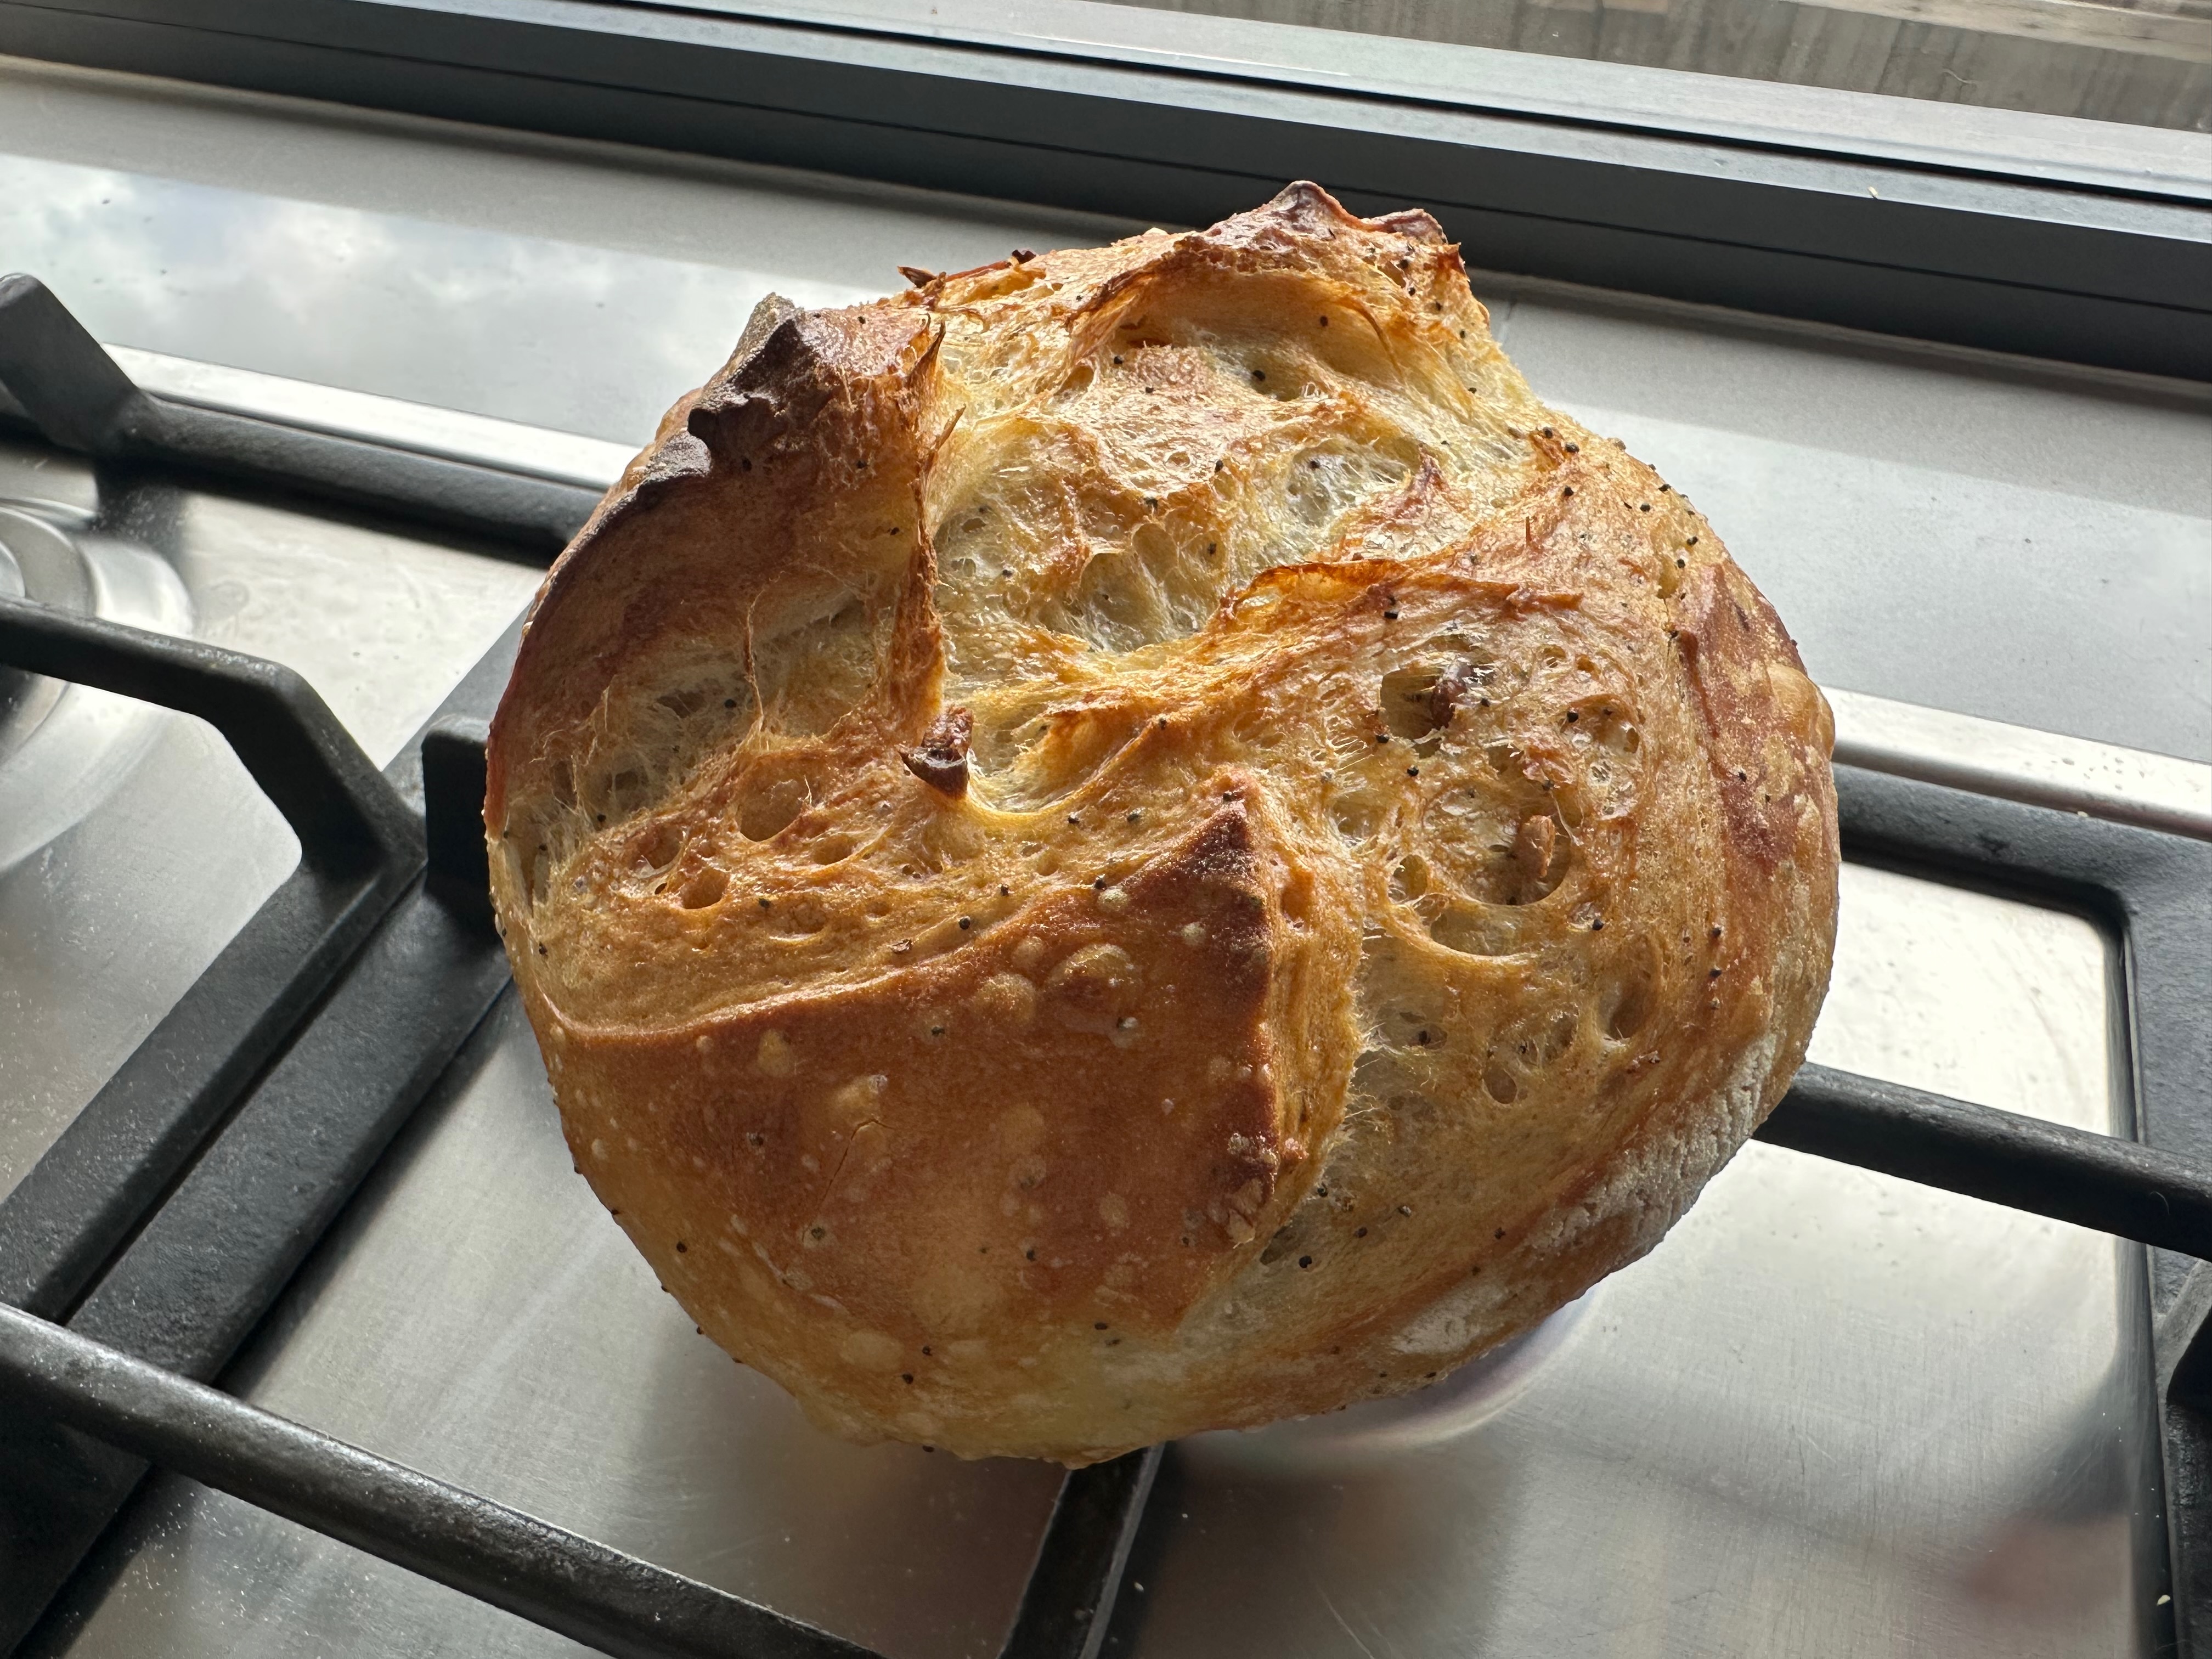
I followed the simple sourdough recipe “by The Pantry Mama” and decided to add some mix seeds and make 2 smaller breads out of the final dough.
Making the dough and bulk fermentation
- I added 10 grams of salt after 60 minutes of autolyse, then do a few stretch and folds to mix in the salt.
- I added a small amount of hyrdated mixed seeds in the second stretch and fold: I soaked the mixed seeds in some boiling hot water for 20 minutes or so before mixing them into the dough.
- I put the dough covered in an oven next to a jug of warm water to support the bulk fermentation
Shaping and cold retard
- When it was time to shape the dough, I divided the dough into 2 balls to make 2 smaller loafs, each loaf weighing about 500 grams.
- I lined to 2 bowls with tea towels covered in flour and used them to shape the bread.
Bake
- Ensure to pre-heat the Dutch oven whilst the oven is heating up.
- I didn’t spray my bread with water, instead I added 4 ice cubes into the Dutch oven with my dough before closing the lid.
- I set the oven temperature to pre-heat at 235°C, lower the heat to 230°C and bake for 28 minutes with the lid one. Then take the lid off and bake at 210°C for 18 minutes.
Cool
- I let the bread cool down for 2 hours before cutting into it.
Tools
Here is an overview of the tools I used for this recipe:
- Digital Kitchen Scales
- Big glass bowl
- Dough scraper
- Scoring Blade aka a razor blade


