The Shokupan
-
 Wai Ling Ko
 - 01 Sep, 2024
-
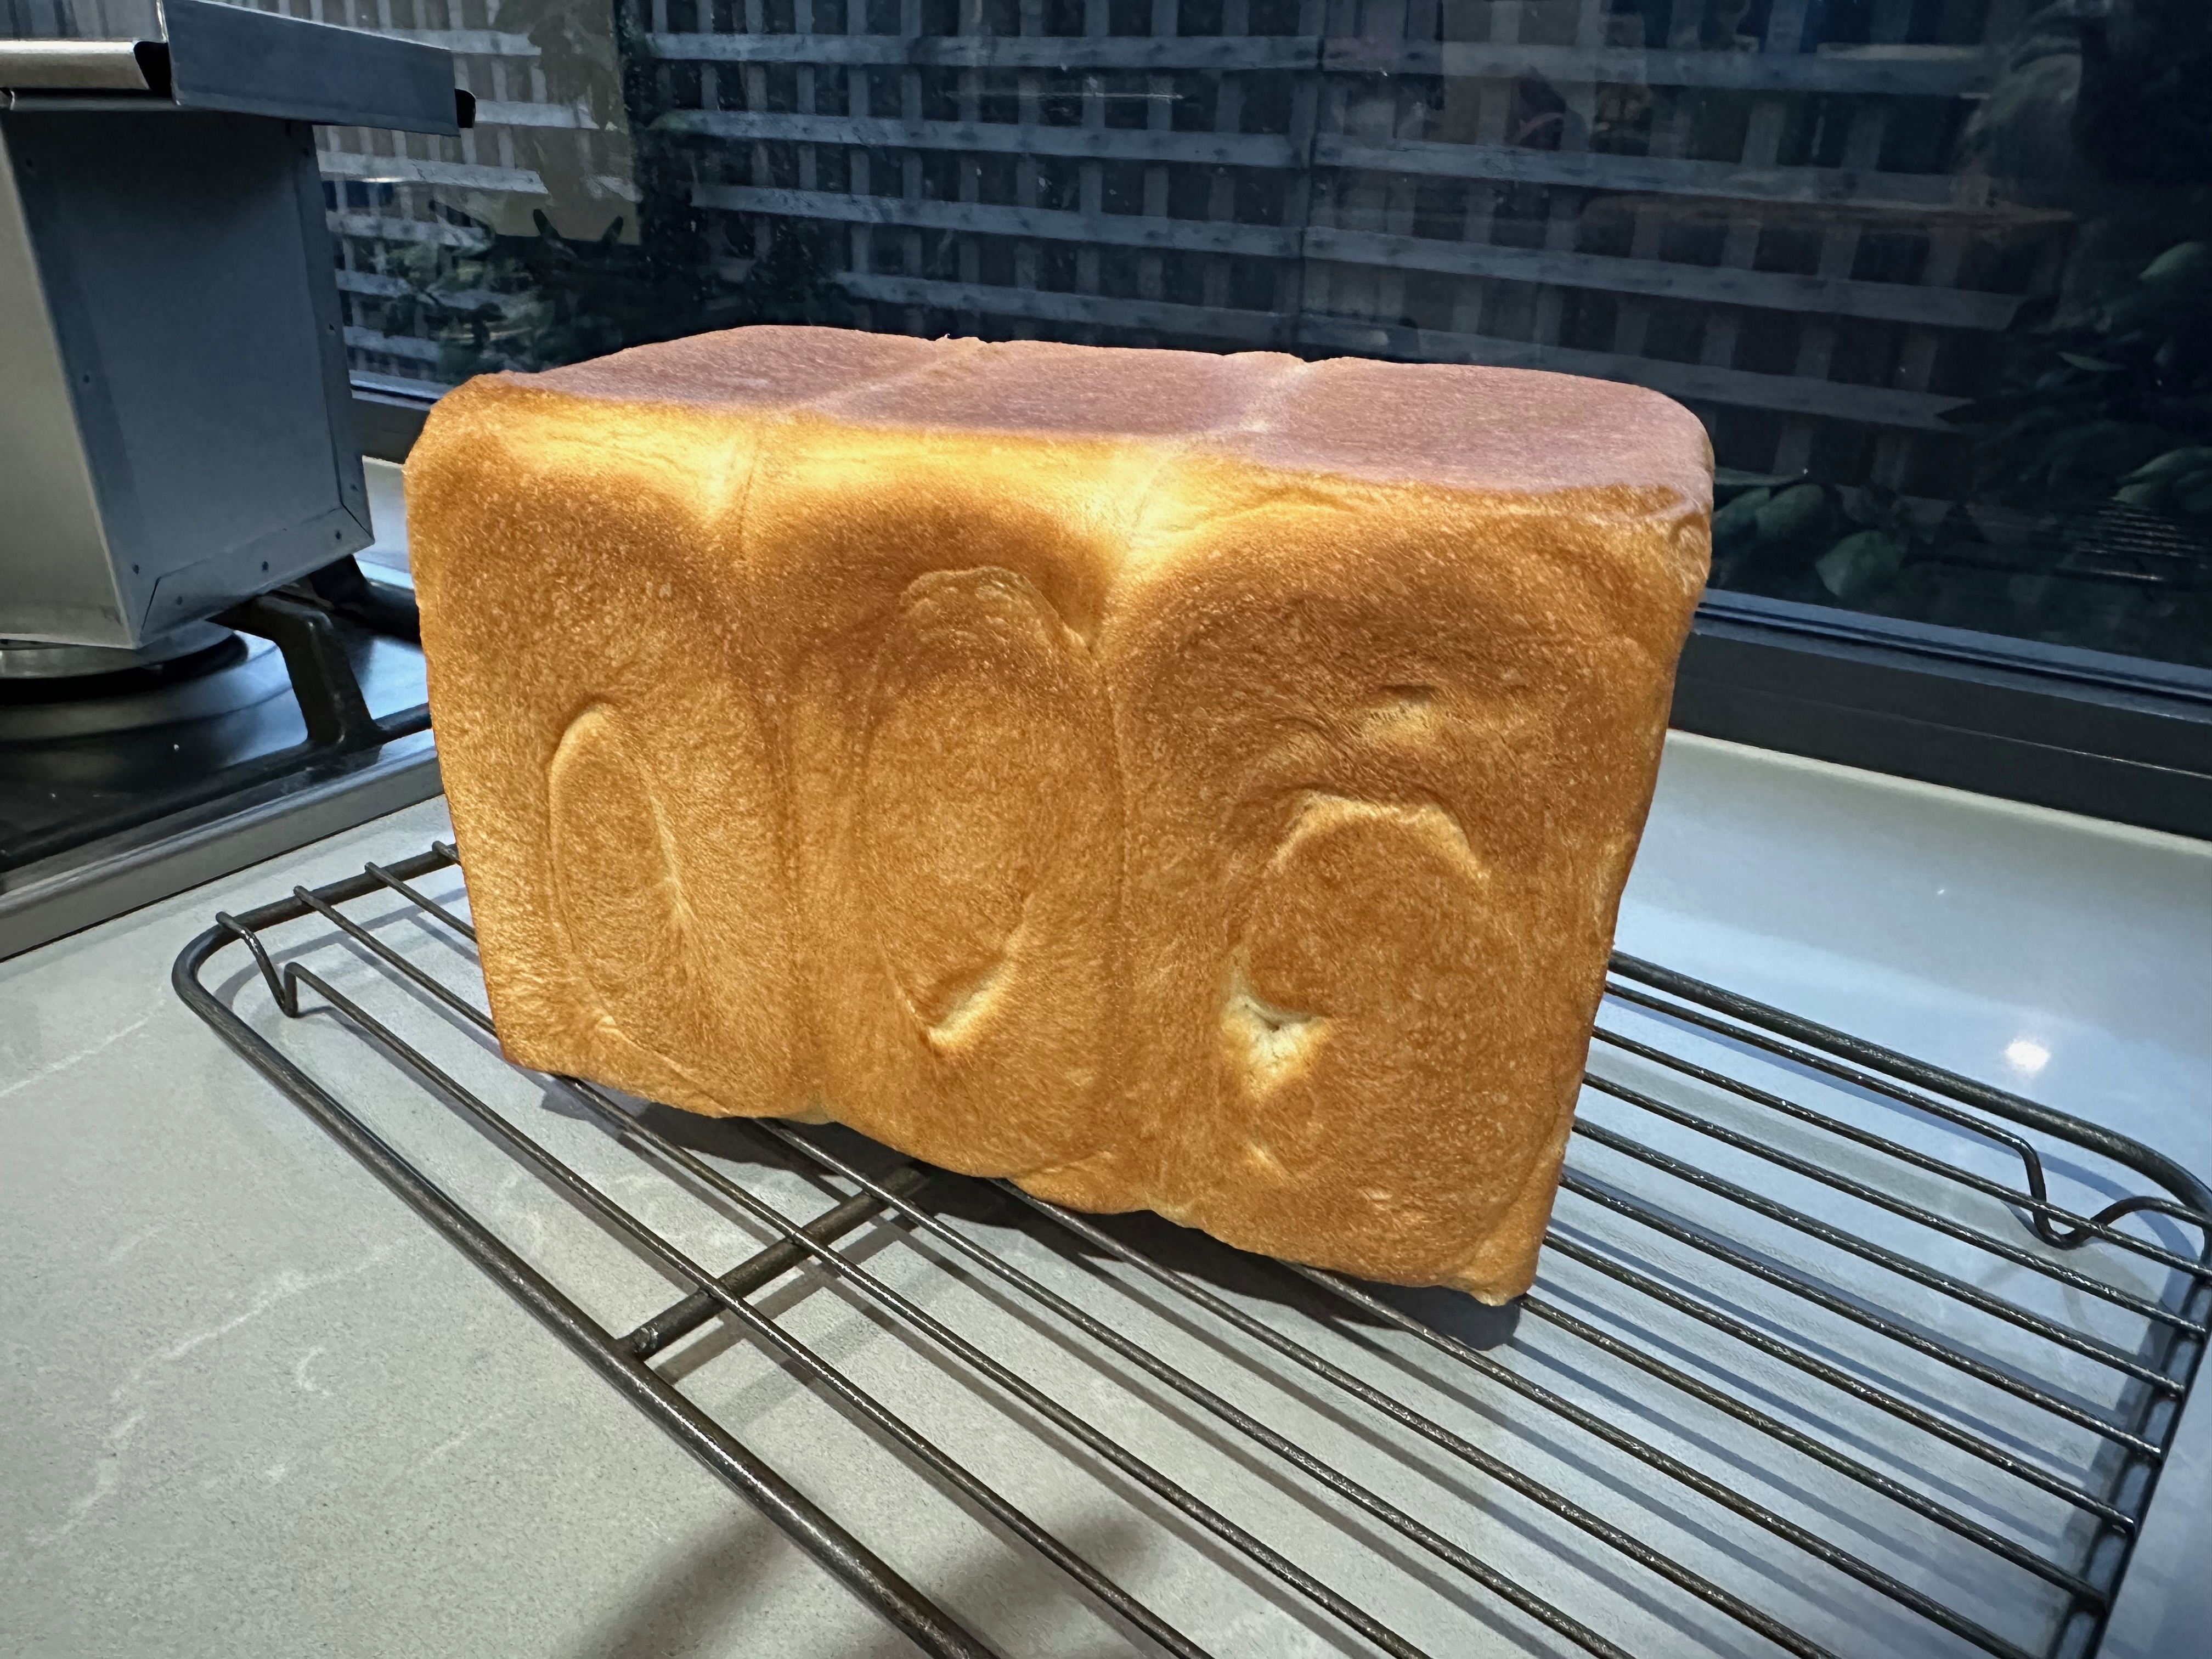
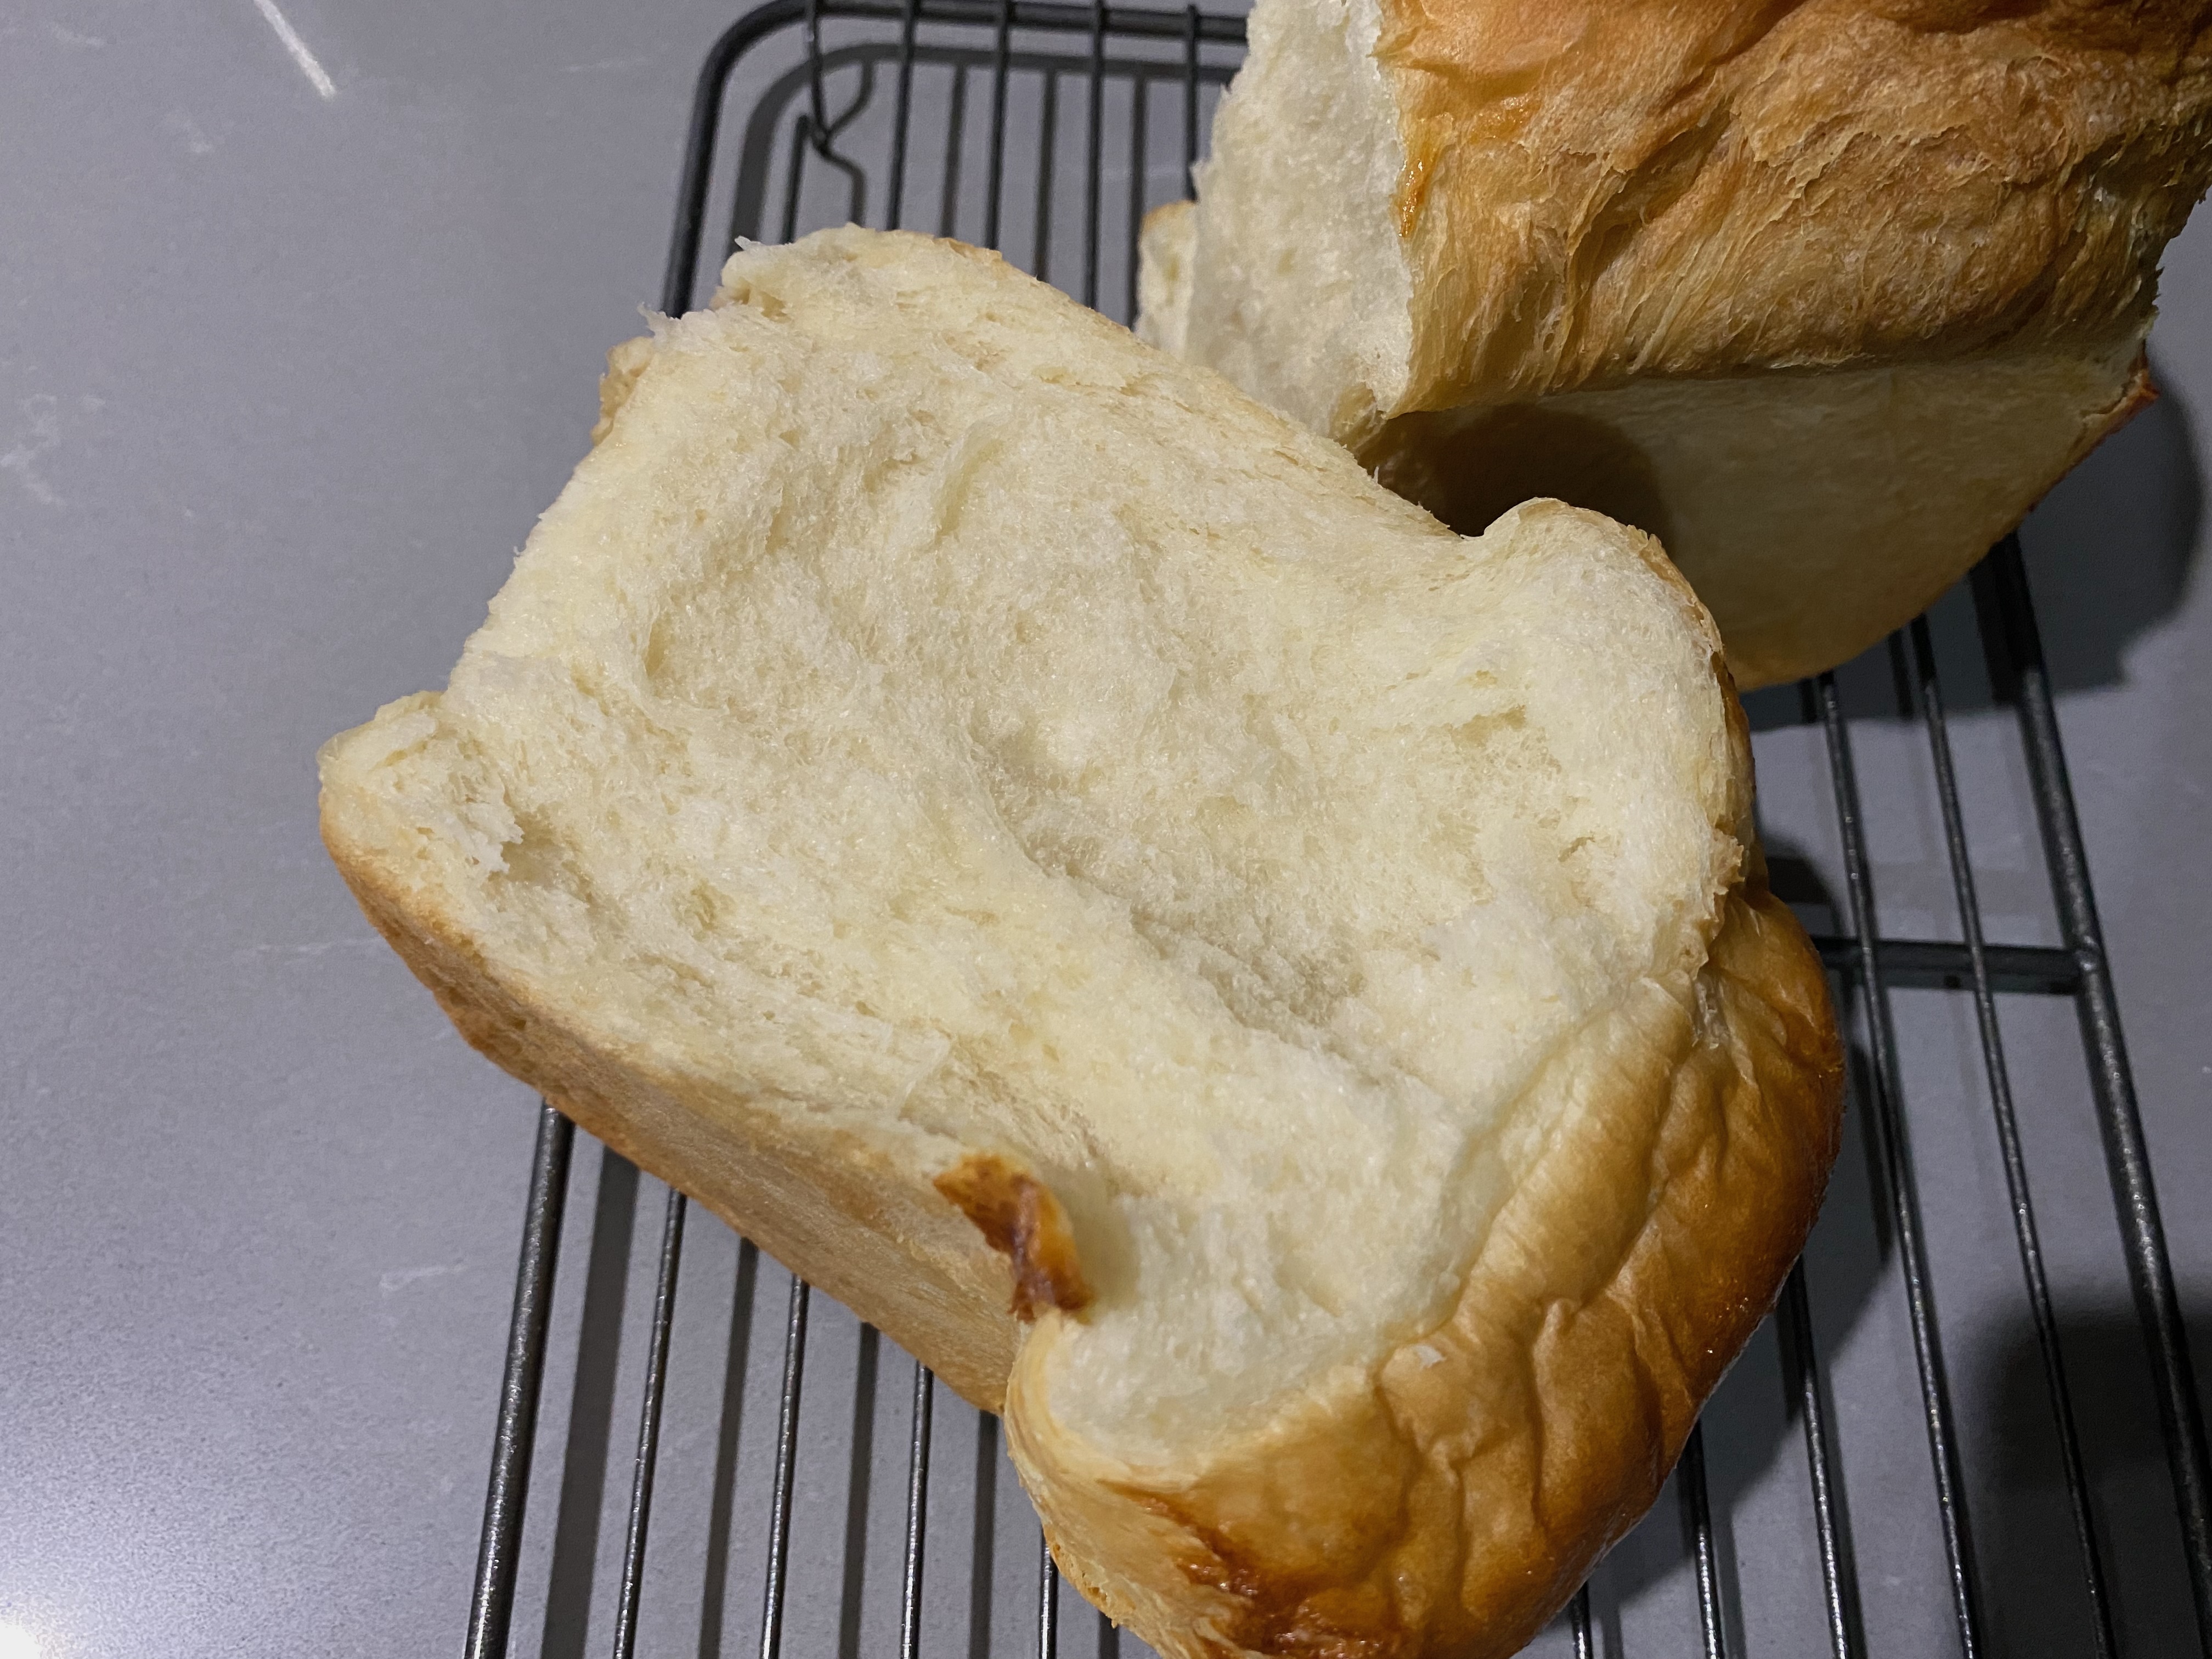
For everyone who loves a bread that is as fluffy as a feather pillow, the Japanese shokupan (milk bread) is the bread to try.
Growing up in the Netherlands, bread has always been a pantry staple. I remember cycling to high school, and riding passed a traditional real baker ‘warme bakker’, who still baked their bread on premise: That freshly baked bread smell filled the streets and was best wake up call on a cold morning! Dutch bread has a crunchy crust and an inside filled with grainy goodness. Japanese milk bread (shokupan) tastes lightly sweet, is snow white and fluffy on the inside.
Having tried this Japanese milk bread from the Asian bakeries, I became fixated in challenging myself to make a homebaked version of this.
The Recipe
After doing research on the internet, I have found many shokupan recipes. Some of these recipes use the tangzhong or yudane method (using a dough starter that you make beforehand). But I also came across this recipe on “Just One Cookbook” by Namiko Chen from Just one cookbook which doesn’t use any starter. And she claims that you can create a delicious shokupan in just over 3.5 hours and I was won over by those gorgeous shokupan photos in her recipe.
Japanese Milk Bread is possibly the best version of soft white bread! With a milky-sweet taste and pillowy softness, shokupan is enjoyed daily in Japan as breakfast toast and in sandwiches. Here‘s the perfect milk bread recipe in two styles: rounded top and flat top.
My Learnings
Having made this 1.5 kin shokupan a few times, these are my learnings according to the different steps of Nami’s recipe
Measure
- I measured the honey, salt and sugar out in a bowl, then poured ~180 mls of filtered water boiled just off the kettle over the ingredients. Then mixed everything till it’s dissolved. Then added the 70 mls of temperate filtered water on top. Keep stirring the water and measuring the temperature with a cooking thermometer till it drops to 40 °C. Then stir in 1 sachet of instant yeast (7 g). Keep stirring till the yeast has dissolved.
- Fill a 500 ml measuring jug with hot water and put this in the microwave together with your yeast mixture and close the door. This will create a warm moist environment for your yeast to bloom. Check on your mixture after 10 minutes. Do not turn on the microwave!
- Once the yeast has bloomed, take it out of the micorwave and leave the measuring jug with hot water in the microwave for the first rise.
Knead
- I have a Kenwood Elite Chef XL stand mixer whilst Nami’s recipe is based on a KitchenAid stand mixer. I have followed Nami’s steps (settings and timings) and what I have observed is that the dough ball comes together earlier than in her recipe, but it will need extra kneading to pass the window pane test. Keep following through till the final knead step with the same suggested settings and do the window pane test. If it fails, knead in 1 minute intervals on speed 6 till the dough passes the window pane test and the dough temperature gets up to just over 26 °C.
The First Rise
- I put the bowl of dough back into the microwave with the measuring jug filled with hot water for the first rise when the dough temperature is between the suggested 26 °C and 31 °C. When finished, leave the measuring jug in the microwave for the Final Rise. Else do the first rise on the bench top.
Divide and Roll
- I used kitchen scales to divide the dough up into 3 equal pieces instead of eye-balling this.
Bench Rest
- I just followed her recipe in this step.
Shape
- When rolling out a dough ball the first time, roll it out with more pressure than expected to make it stretch closer to 15-20cm. This will make it easier to achieve the final widts of 21 cm after flipping the dough and further rolling it out.
The Final Rise
- I am using the warm microwave for the Final Rise. Check whether the water in the measuring jug still is hot, else reheat the water. Put the loaf pan back in here for the Final Rise.
- I let the dough rise to about 80% of the loaf pan (2 fingers from the top) before sliding the lid on and putting it into the oven. You can take the dough further than you think.
Bake
- I find that our oven gets hotter than the average temperature settings in most recipes. I set the oven temperature 10 °C lower: pre-heat at 210°C and bake at 200°C for 26 minutes.
Cool
- I didn’t make any changes to this step.
Tools
Here is an overview of the tools I used for this recipe:
- Digital Kitchen Scales
- Cooking Thermometer
- Stand Mixer: I have this one Kenwood Chef XL Elite
- 1.5 kin Shokupan Loaf Pan: my loaf pan is from the Asai Shoten store in Tokyo and is a non-stick loaf pan. You can find more information on this loaf pan here
